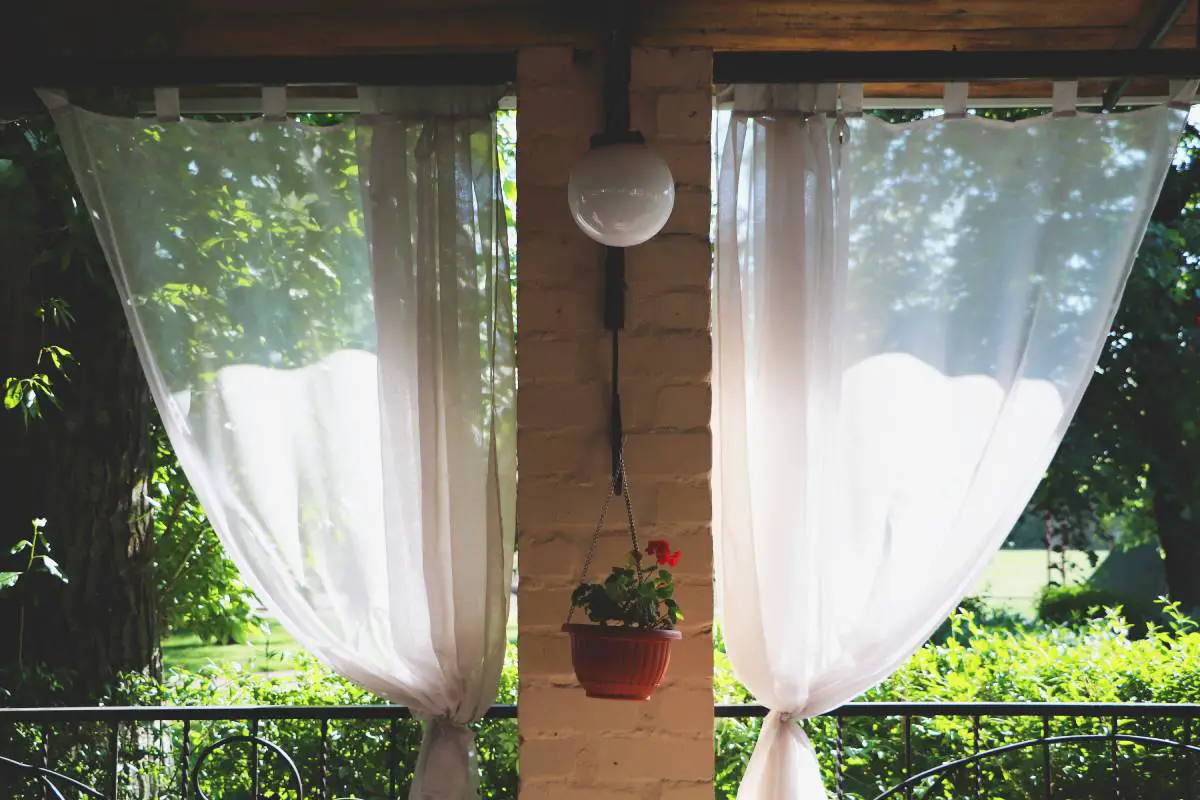

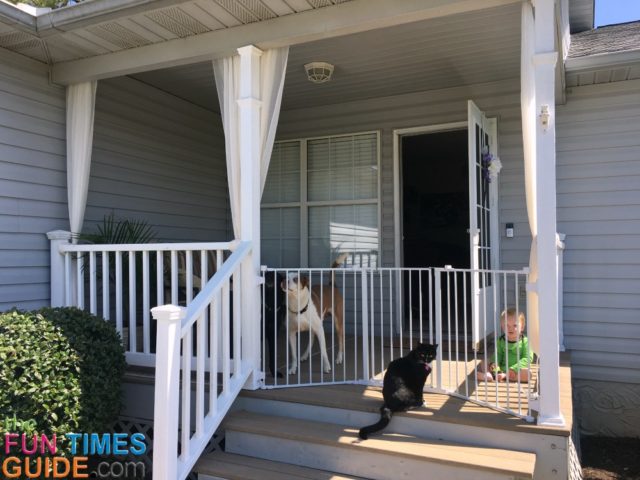
I have a great front porch — it provides shade from the sun during the day, and in the evening has a great view of the sunsets!
We have neighbors to the left and directly across from us who also love to spend time outside. In an effort to create some privacy and ambiance while enjoying the outdoors on our front porch, I made some really inexpensive PVC pipe curtain rods to hold long, sheer porch curtains.
See how I made my outdoor curtain rods for approximately $15 (curtain panels and tools are not included in this price)…

Supplies Needed For DIY Outdoor Curtain Rods
Items I already had:
- Tape measure
- Metal screws
- Drill
- PVC pipe cutter

Items I had to buy:
- 4 1-inch J-hook pipe hangers ($1 each)
- 2 10-foot 3/4 inch PVC pipes ($2.70 each)
- 2 1-inch PVC couplers (.85 cents each)
- 2 1-inch PVC end caps ($1 each)
- 1 1-inch 90-degree PVC elbow ($1.50 each)
- 1 3/4-inch J-hook pipe hanger ($1 each)
How To Make A PVC Pipe Curtain Rod
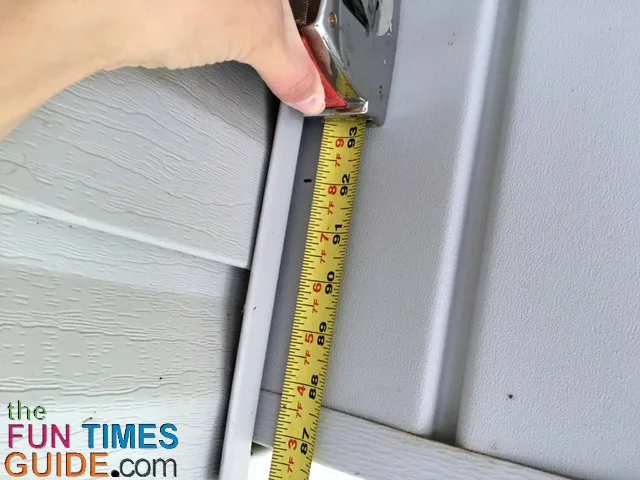
#1 – First, I determined where I wanted my curtain panels to hang. Then, I measured my space.

I had 2 exposed sides of the front porch — which I wanted curtain panels for.
- The short side measured a length of 93 inches.
- The long front side measured 143 inches.
I determined that the height of the inner frieze beam would hide the PVC pipe curtain rod inside the porch and easily accommodate 95-inch length curtain panels.
#2 – I chose ivory sheer rod curtain panels — they came in a 95-inch length and a 59-inch width.
I knew I would need at least 5 panels to fully enclose the space.
I wanted the sheer look for esthetics — but to also allow for air flow. I wanted the panels to fully enclose the space and to act as a bug net, too.
Because of bracket placement, I ended up needing 6 curtain panels.

#3 – Based on my measurements, I determined that I would need 2 pieces of 10-foot 3/4-inch PVC pipe.
But then I realized the bracket placement is what really determines how many 10-foot PVC pipe and curtain panels you need.
I ended up having to piece together one of the outdoor curtain rods with a PVC coupler — because of the 2 separate rods needed on the 143-inch long front side.
#4 – I used 4 1-inch J-hook pipe hangers as support brackets for the PVC pipe curtain rod.
I basically screwed the J-hook pipe hangers into the vinyl siding — until I was able to screw into actual wood behind it.
I decided to have the curtains touch the floor of the porch — so I measured where my first J-hook would be screwed in. I started above the first wood post close to the wall of the house.
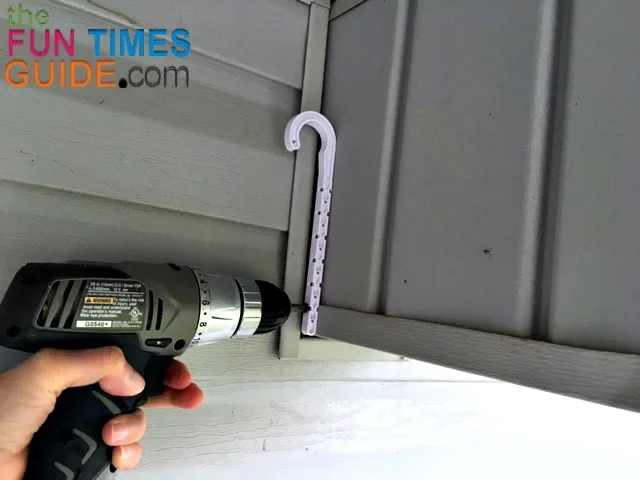
TIP: I turned the J-hook pipe hangers upside down — because the hook itself is slightly more than a 1/2 circle which can hold the pipe in place, even upside down. (By placing the hooks this way, I could also hide the majority of the bracket with the curtain panel!)
I continued to measure the placement for the remaining J-hooks from the floor. Because the hooks are plastic, I was able to cut the excess off the adjustable J-hooks using a PVC cutter.

#5 – Once I had all of my J-hooks in place, I measured from the middle of each J-hook to determine the length of pipe I would need.

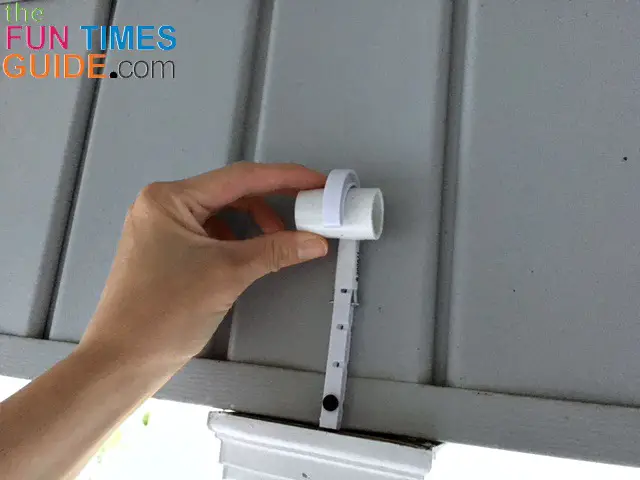
I placed a 1-inch PVC end cap on the 10-foot PVC pipe before cutting my first 93-inch length.

Then, I put the 90-degree PVC elbow on the cut end.

I placed the 90-degree PVC elbow fitting into the corner J-hook and proceeded to measure my next cut. This 90-degree PVC elbow links the entire pipe curtain rod together — but only requires the 1 corner J-hook pipe hanger.
I used a 1-inch PVC coupler to join the 2 outdoor curtain rods on the long front side. (I needed a 66-inch and a 77-inch where it would connect to the J-hook pipe hanger above the middle column of the porch.)
I did end up using an additional PVC coupler to join the 2 final pieces of pipe which were just not quite long enough on their own — out of the 2 10-foot PVC pipes.
TIP: This is why I mentioned earlier that bracket placement determines how many 10-foot pieces you’ll need. I may switch it out for a single piece of pipe — to avoid having the curtain drag on the coupler joint.
I wanted to place the J-hooks above each of the wood posts — because that’s where the curtains will be tied when not in use. (I have 4 wood posts among the balustrade, and I figured each post would be the best places to distribute, gather, and tie the 6 curtain panels.)
NOTE: I decided to add a 3/4-inch J-hook to the center of the short side rod — which ended up being the longest single rod at 93 inches. It was sagging a bit in the middle, and I felt it wouldn’t hurt to have the additional support in the center of the rod. The 3/4-inch J-hook fits to the size of the 3/4-inch pipe and would need to be inserted into the J-hook.
#6 – Finally, I added the sheer curtain panels.
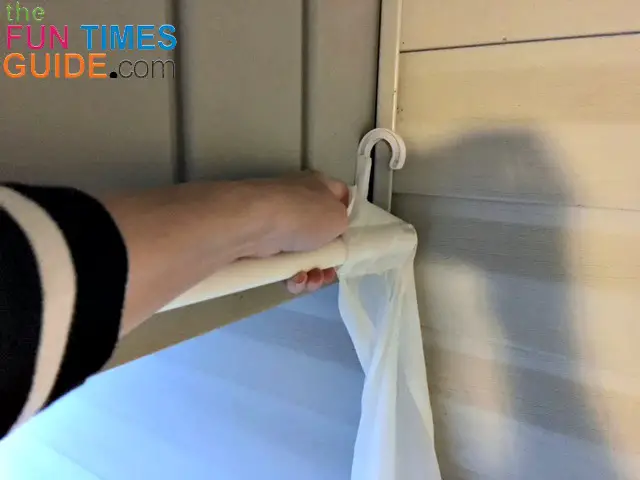
To add the curtains and release the rods, simply apply a bit of pressure and push on the rod (away from the end cap side — to pop it out of the J-hook).
The 1-inch diameter of the J-hooks fit the end caps and couplers perfectly, without being too rigid.
This makes it easy to disconnect the PVC pipe curtain rod to remove it and/or the curtain panels for whatever reason — like to wash them.
The Bottom Line…
These days, with the baby, my DIY projects have to be studied, sorted, and calculated. I generally will brainstorm an idea for a few days (sometimes even a few weeks) before I take action on it. I want to make sure I have researched my options and the true cost of each project before starting.
After getting all the supplies at Lowe’s, I was able to measure, cut, and install the outdoor curtain rods with the curtain panels for my front porch in about 1 hour (while my husband watched the baby).
I’ve had the porch curtains up for a couple weeks now, and they are holding up perfectly — even with the heavy gusts of wind wreaking havoc on the curtain panels. (Just remember to secure the curtains to the posts when not in use!)
Like this post? Save it to read again later… or share with others on Pinterest!

I’m a first-time mom. I work from home and I write. Tackling random DIY projects while my husband is at work and my toddler is asleep is how I spend my free time these days. I also enjoy discovering new products and gadgets that will make life easier with a dog, a cat, an active little boy, a Harley-loving husband, and all of our extended family!